Your cart is currently empty!
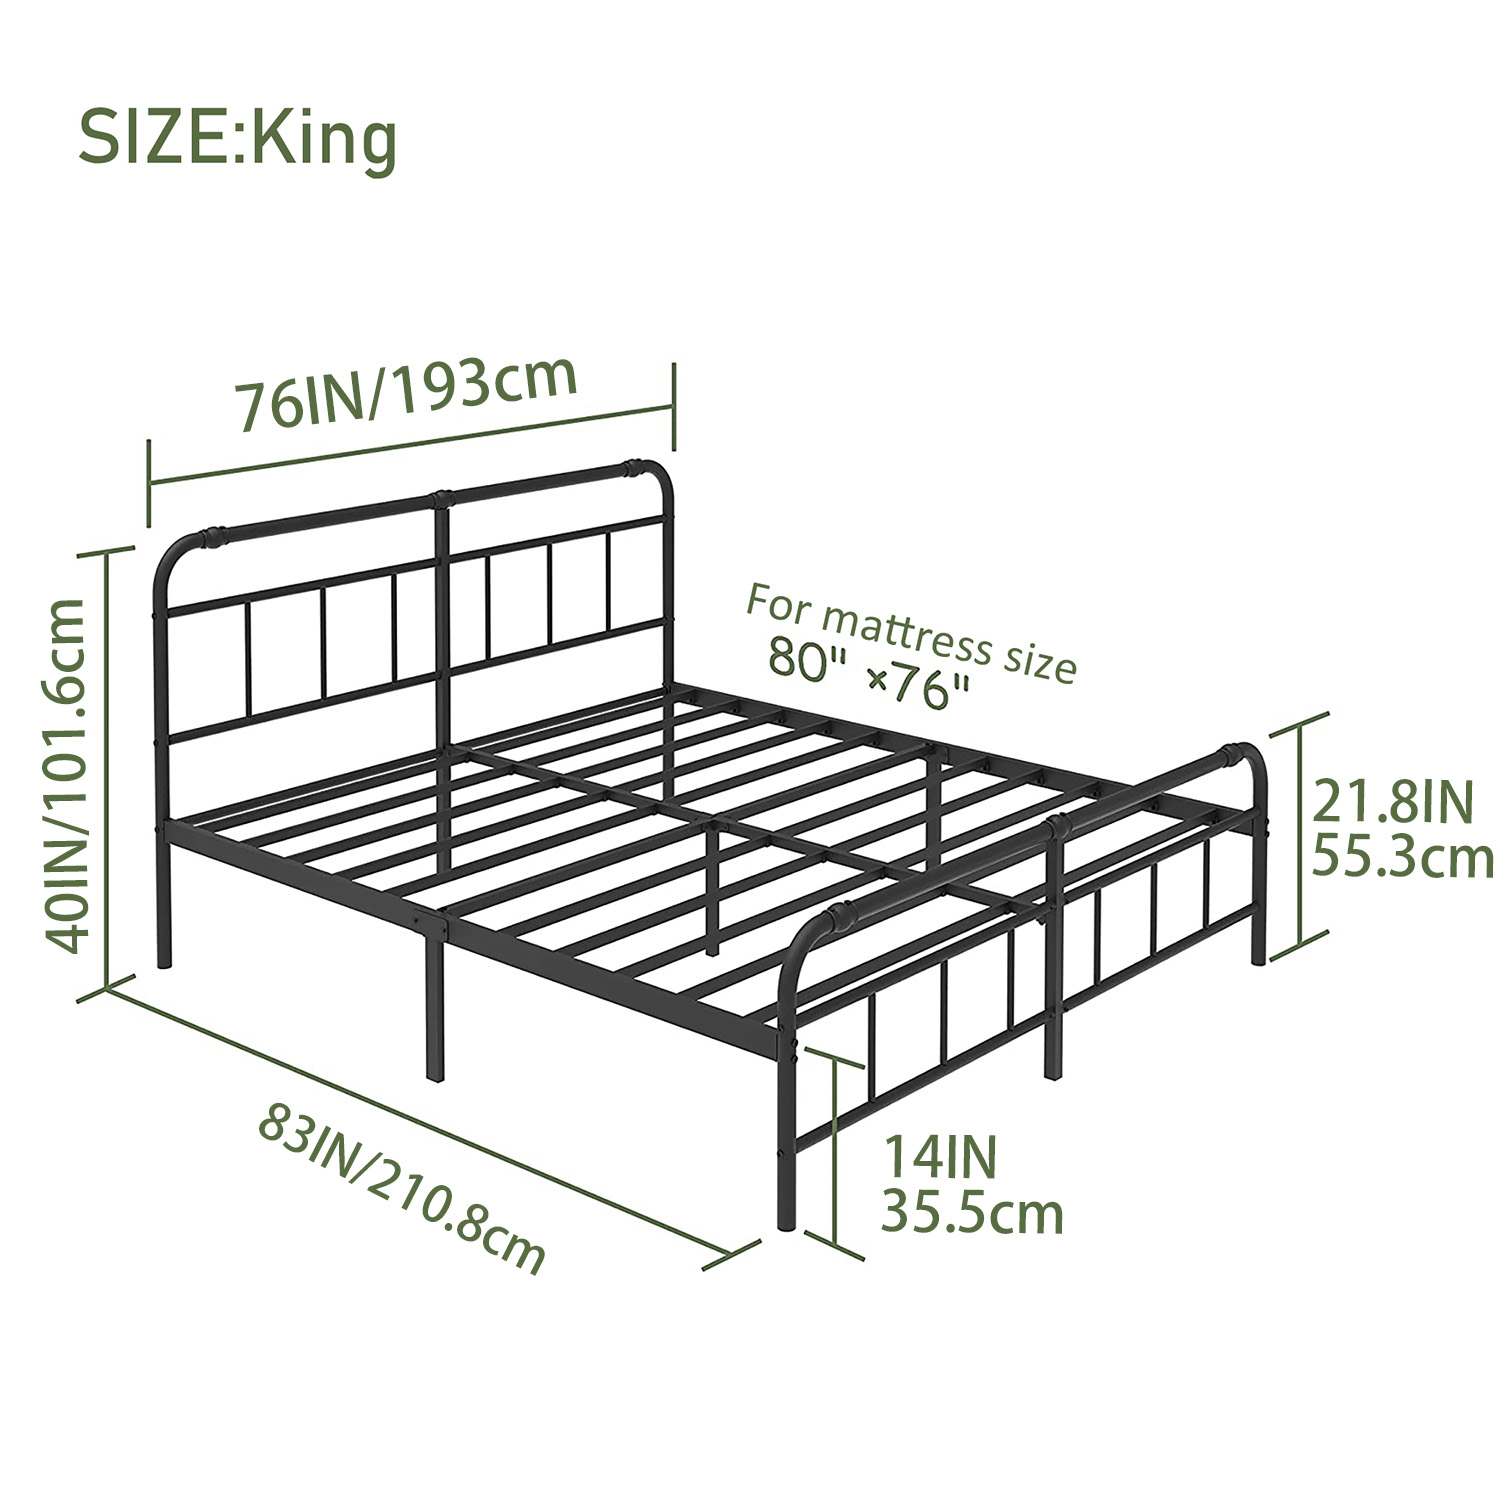
How to Assemble a Metal Bed Frame
Why Are Metal Bed Frames Shipped in Pieces?
Metal bed frames are designed to be shipped in separate pieces for several reasons:
- Easier Transportation: A fully assembled bed frame would be bulky and expensive to ship. Disassembled frames reduce shipping costs and make handling more convenient.
- Compact Storage: Unassembled bed frames take up less space, making them easier to store in warehouses or small apartments.
- Customization and Adjustability: Some metal bed frames allow adjustments in size or height, which is easier when shipped in parts.
Tools You Need for Metal Bed Frame Assembly
Before starting the assembly, gather the following tools:
✔ Allen wrench (hex key) – Usually provided with the frame
✔ Screwdriver – A Phillips-head or flat-head screwdriver may be needed
✔ Rubber mallet (optional) – Helps secure joints without damaging metal parts
✔ Wrench (if required) – For tightening bolts
✔ Measuring tape – Ensures alignment and accuracy
Step-by-Step Assembly Guide for a Metal Bed Frame
Step 1: Unpack and Organize the Parts
- Lay out all the frame components on the floor.
- Check the instruction manual to identify each part, including side rails, center support bars, slats, screws, and brackets.
- Make sure all required parts are present before starting.
Step 2: Attach the Side Rails
- Connect the two side rails by inserting them into the headboard and footboard slots (if applicable).
- Secure them using the provided screws or bolts.
Step 3: Install the Center Support Bar (If Applicable)
- If your bed frame includes a center support bar, attach it between the side rails to provide additional stability.
- Some metal bed frames have adjustable legs in the center—ensure they are at the correct height.
Step 4: Add the Slats or Metal Grid
- If your bed frame has metal or wooden slats, place them evenly across the frame.
- Secure them with screws if required. Some frames have pre-drilled holes for easy alignment.
Step 5: Tighten All Connections
- Use the provided Allen wrench or screwdriver to tighten all screws and bolts.
- Avoid overtightening, as this can strip the threads and weaken the frame.
Step 6: Attach the Headboard and Footboard (Optional)
- If your metal bed frame supports a headboard or footboard, attach them using the designated screws or brackets.
- Some frames come with universal attachment points for different headboard designs.
Step 7: Check for Stability and Place the Mattress
- Shake the bed frame gently to ensure it’s sturdy and all connections are secure.
- Place your mattress on top and ensure it sits evenly on the frame.
Important Assembly Tips & Safety Precautions
🔹 Read the Instructions Carefully – Each metal bed frame has a unique design, so follow the manufacturer’s guide.
🔹 Assemble on a Flat Surface – A level surface ensures proper alignment of parts.
🔹 Use a Second Person – Some metal bed frames are heavy; having help can prevent injury and misalignment.
🔹 Check for Noise Prevention – Tighten all bolts and use felt pads or rubber washers to minimize squeaking.
🔹 Consider Using a Box Spring – Some metal frames require a box spring for extra support, depending on the mattress type.
Common Issues and How to Fix Them
❌ The Frame Feels Wobbly → Double-check that all screws and bolts are tightened properly.
❌ Metal Parts Make Noise → Apply lubricant to joints and add rubber washers to reduce squeaks.
❌ Missing or Damaged Parts → Contact the manufacturer for replacements before proceeding.
Final Thoughts
Assembling a metal bed frame is a straightforward process when you follow the instructions and use the right tools. By properly securing all components and performing routine maintenance, you can ensure that your iron bed frame remains stable, quiet, and long-lasting. Whether for a modern industrial bedroom or a functional guest bed, a well-assembled metal frame provides excellent durability and support.
Leave a Reply